The Guitar Gallery Forums - The Guitar Legacy of Matsumoku
http://www.matsumoku.org/ggboard/

SB-1000F
http://www.matsumoku.org/ggboard/viewtopic.php?f=38&t=3880
Page 1 of 5

Author:  Bloodaxe [ Fri 31 Aug 2007 12:15 AM ]
Post subject:  SB-1000F

F for Fretless.

This has been on the boil for a yonk, but has lurched forward in the last month or so to the point where there's a danger of me finishing it.

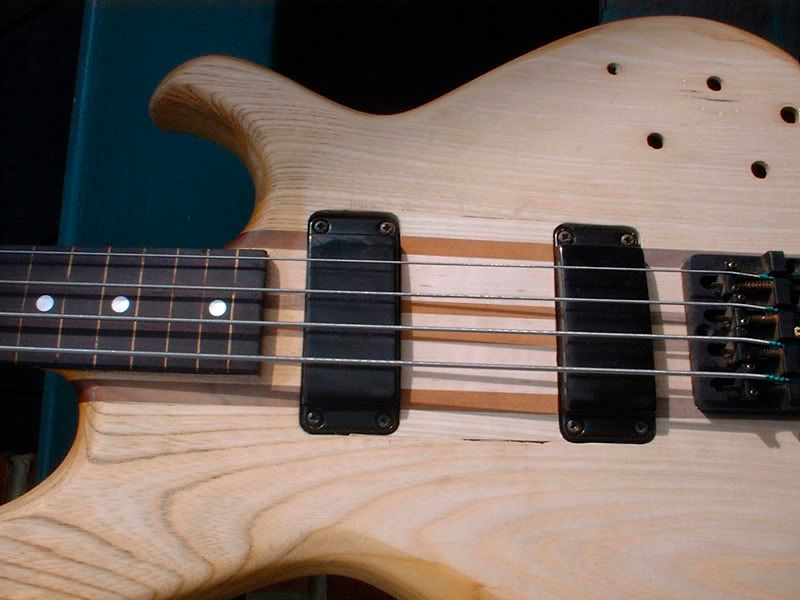
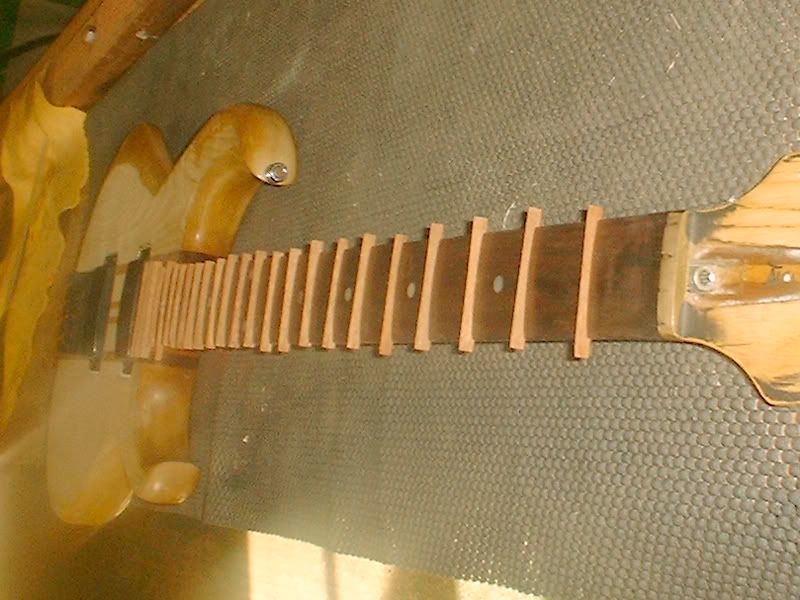
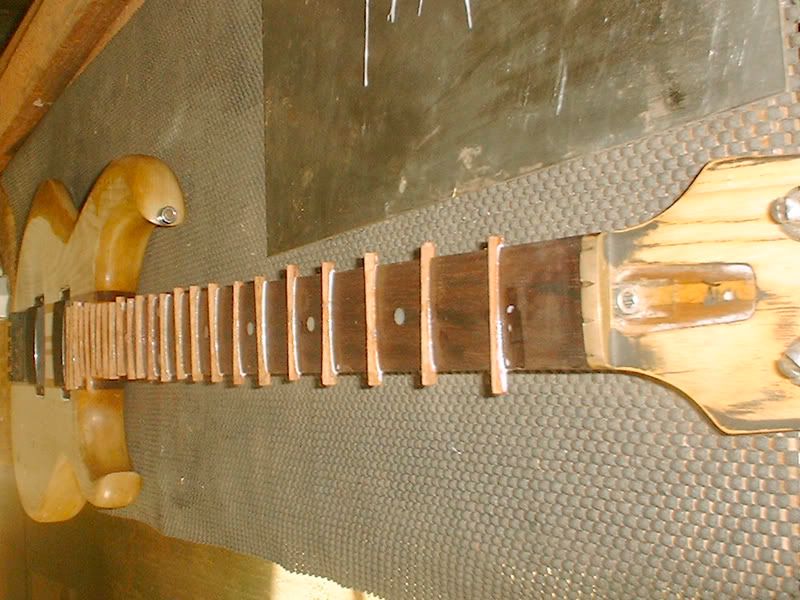
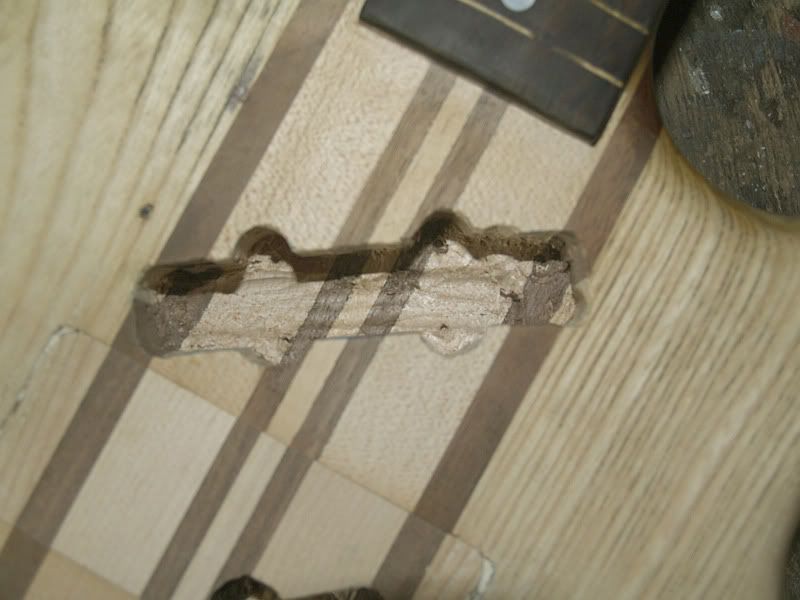
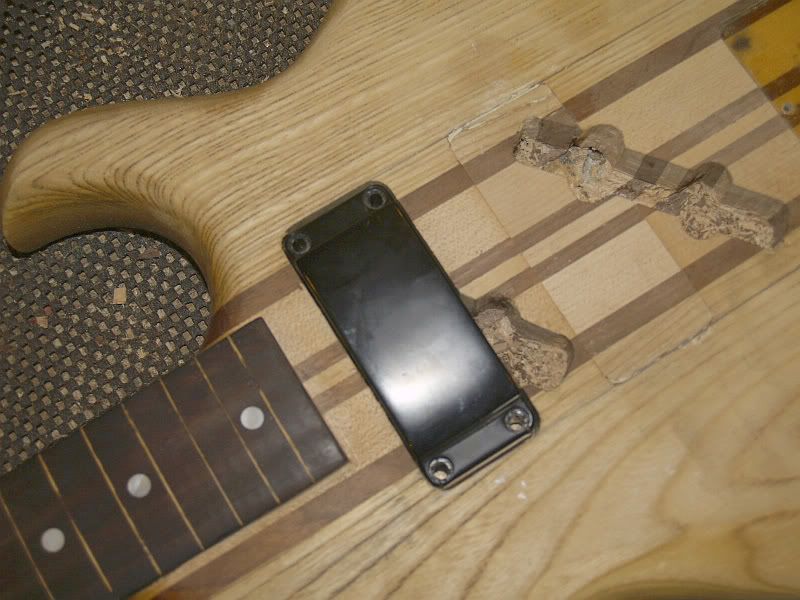
Exhibit A: One butchered SB-1000:
ImageImage
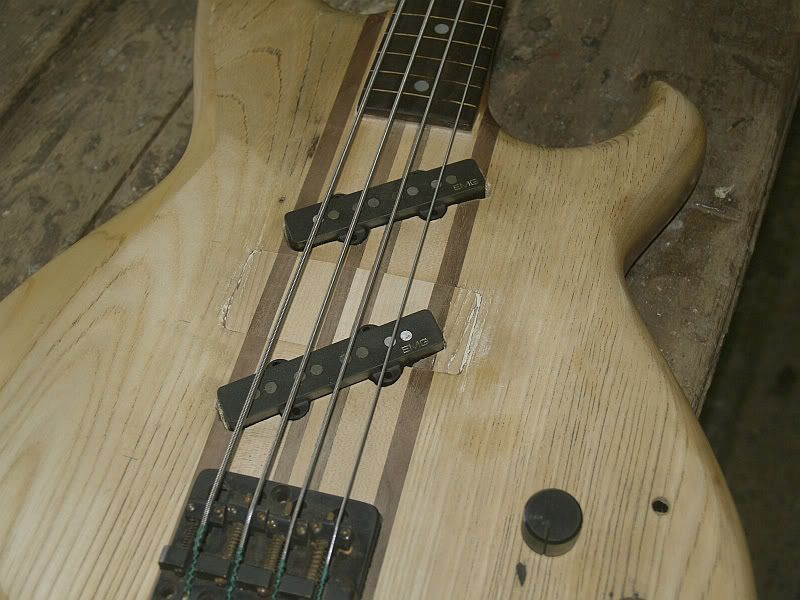
The EMGs were a find on Ebay & intended to replace the defunct original Soapbar. I subbed the job out to a mate of mine who's generally better at woodbutchery than I am & the above was the outcome. I wasn't exactly thrilled by the result, but thought "stuff it", wired it up & got on with the business of learning to play the darn thing.

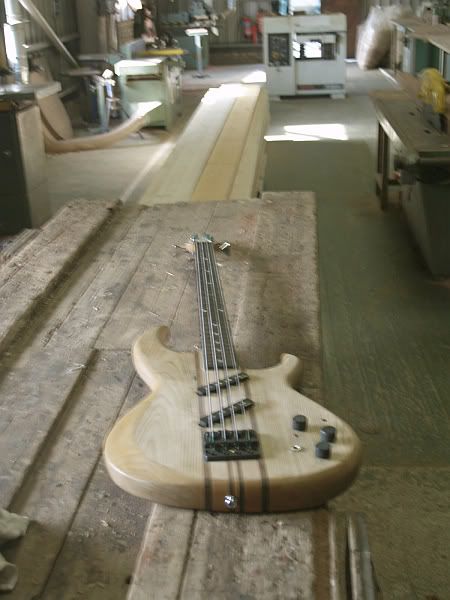
The cosmetics started to niggle though, & once communication had been established with Aaron Armstrong & delivery taken of a couple of replacement soapbars thoughts turned to doing the job properly...
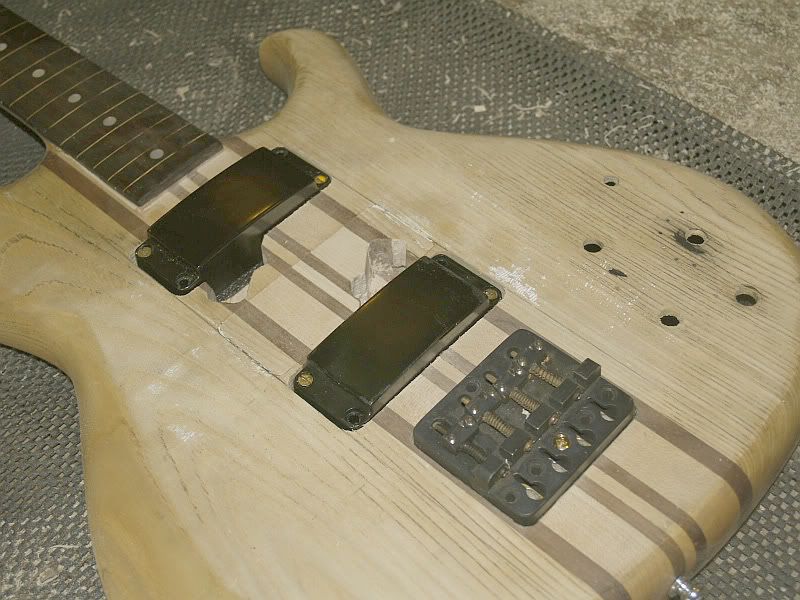
1: Strip it bare:
Image
yuck.
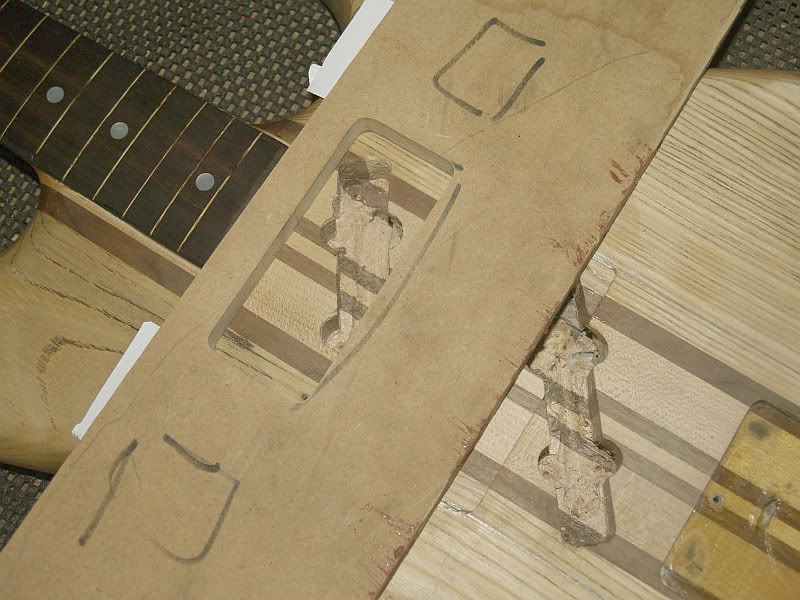
2: Make a template out of MDF & wallop it in place with a modicum of double-sided tape:
Image
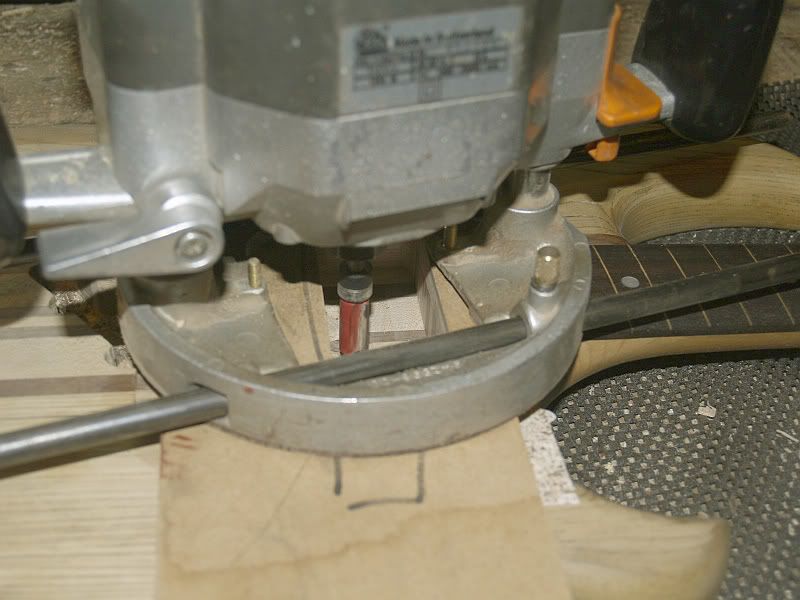
3: Set Router to "Stun":
Image
4: Hoy the template off:
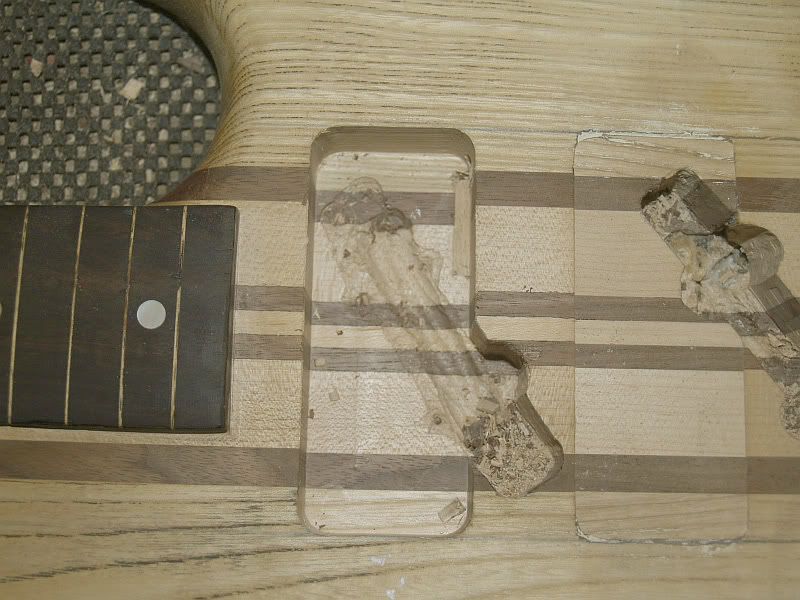
Image
5: Check fit:
Image
6: Repeat:
Image

That took care of the easy bit, now to hide the remaining bits of the Jazz pup routs...
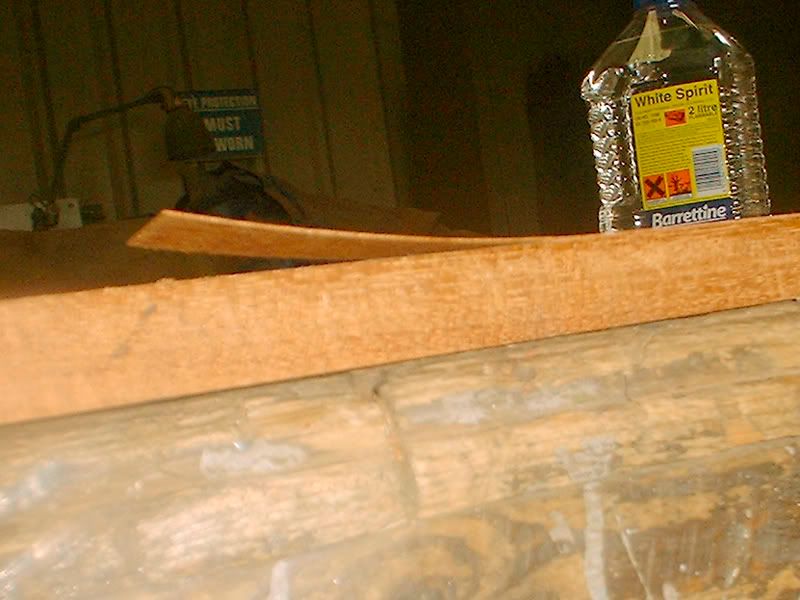
7: Stick two nice straight bits of timber either side of the "skunk stripe" laminations to act as a support & guide for the router:
Image
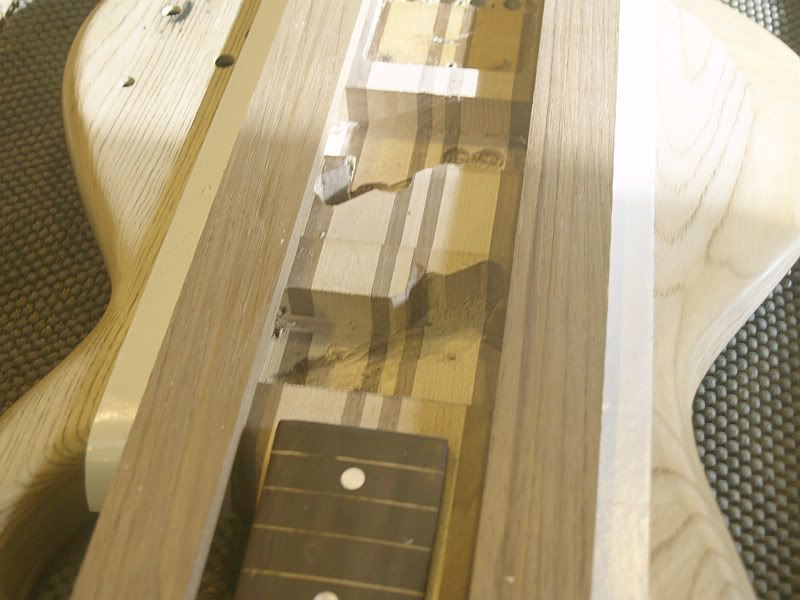
8: Attack & remove guides:
Image

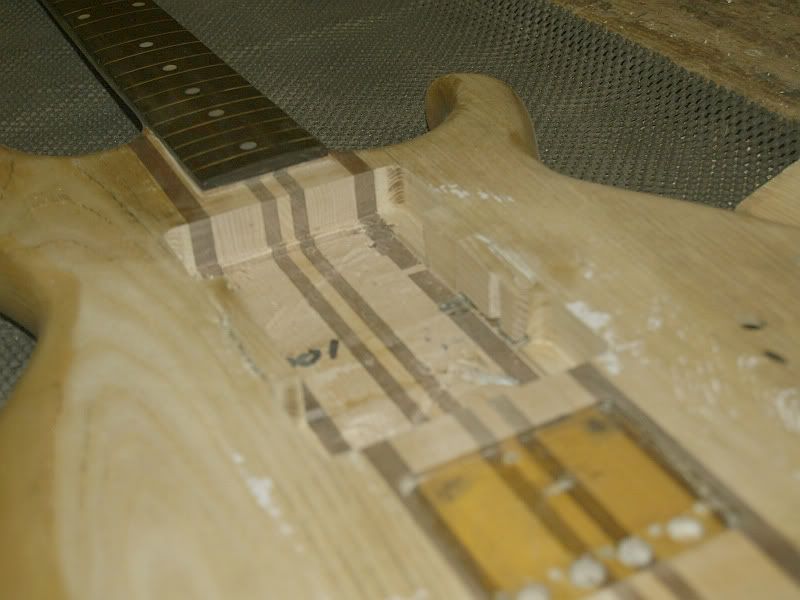
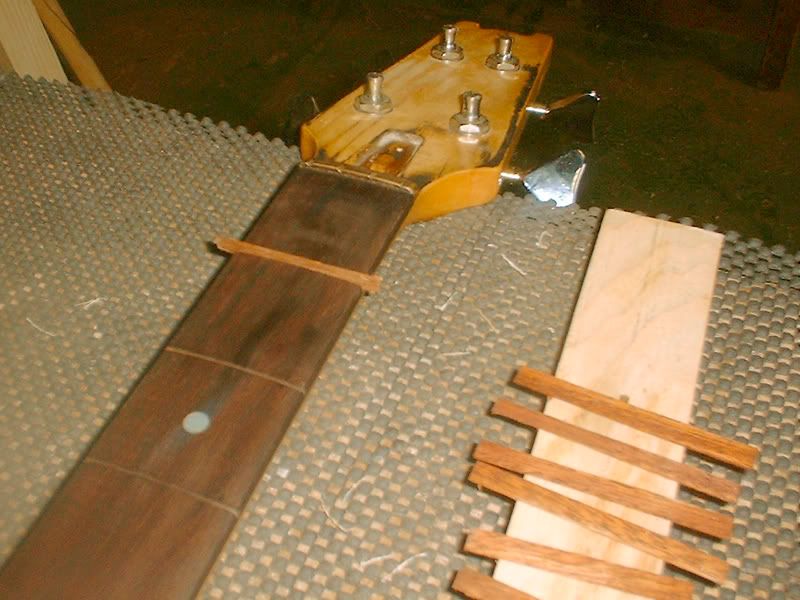
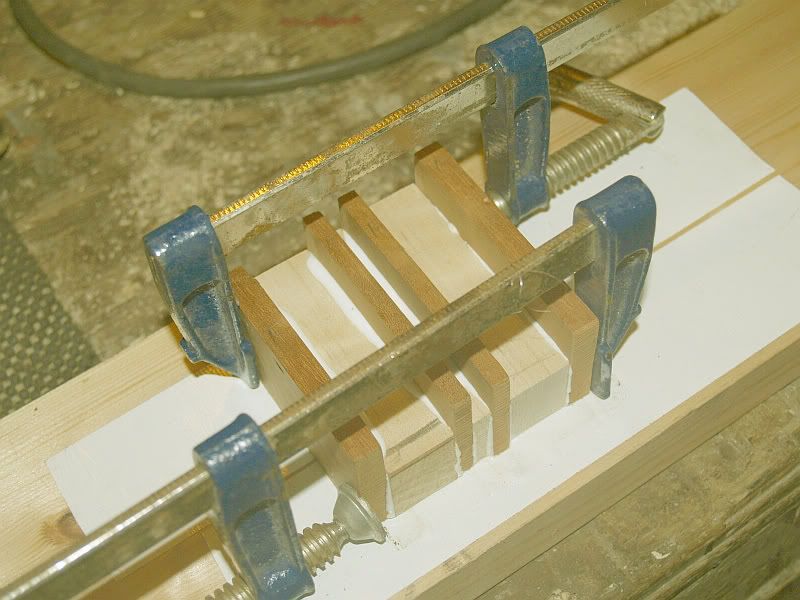
9: Confect a tasty sandwich of Maple & Walnut (or mahogany in my case as I couldn't find any walnut), smear with glue & clamp it until it's sorry:
Image
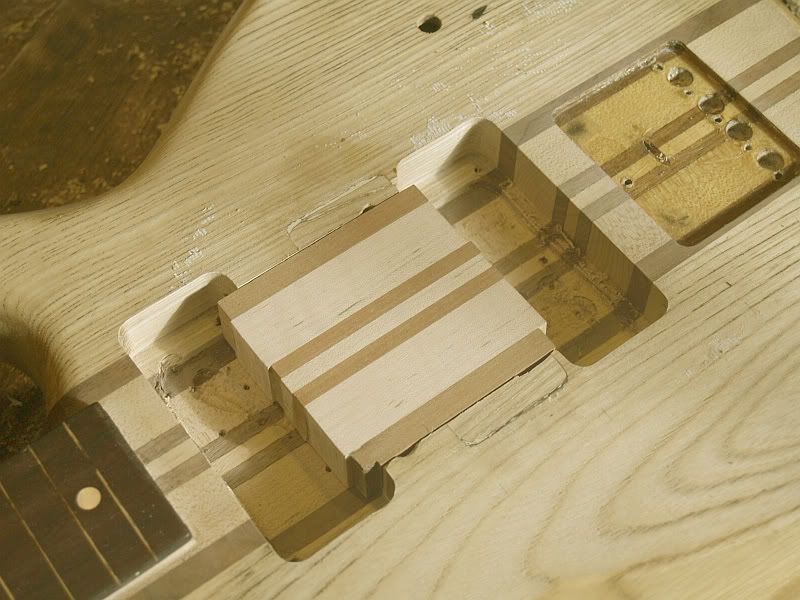
10: Allow to dry overnight, plane & sand it all flush, then plop it in the gaping hole created earlier:
Image
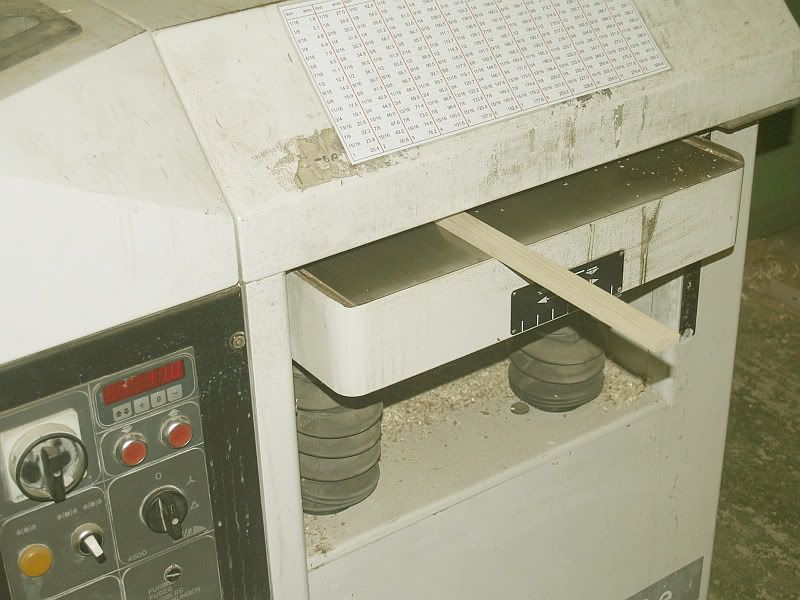
11: Whip it out & rout off the Ash back to the line of the pickup routs, then run up a couple of new infill pieces using any old 4-cutter thicknesser you may have lying around:
Image
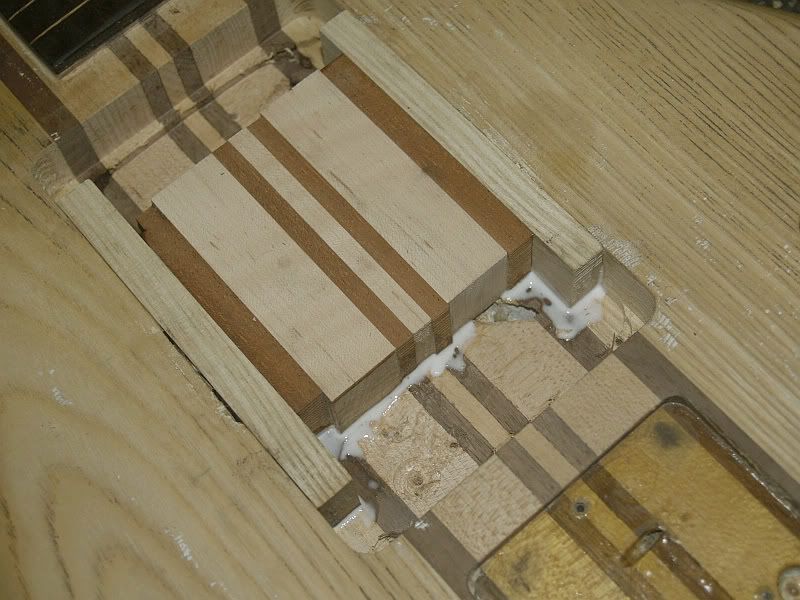
12: Blessed Be! 'tis a snug fit. Glue it senseless before it can think of escaping:
Image

Hopefully more to follow in a week or so.

Pete.

Author:  cardinal [ Fri 31 Aug 2007 03:16 AM ]
Post subject: 

wow that looks like a great project. good work . please post when you do more.
how did it sound with the emg's?

Author:  Wutz [ Fri 31 Aug 2007 03:50 AM ]
Post subject: 

Love that machine park of yours as well... :D

Author:  Jorg [ Fri 31 Aug 2007 12:15 PM ]
Post subject: 

Beautiful. I especially like step 9. . . :D

Author:  Bloodaxe [ Mon 03 Sep 2007 04:03 PM ]
Post subject: 

Thanks for the encouragement peeps, had a week or so off from it but should be an update this time next week with any luck.

Cardinal: The EMGs sounded fine, just a bit of top end hisssss with the treble rolled up. They looked so out of place though, which I find odd as I've got a 5-string Magna which has two slanted J's & that looks absolutely fine. I guess it's a case of "in your heart you know it's wrong".

Wutz: The "machine park" isn't mine, I was just borrowing it. It actually belongs to the Great Western Society at Didcot Railway Centre near Oxford & is normally used for turning out repair sections for their extensive collection of vintage railway carriages dating from 1880 through to 1950 - here's the last one we turned out...

Image

Pete.

Author:  Jorg [ Mon 03 Sep 2007 09:10 PM ]
Post subject: 

WOW!! She's a beauty as well!!

Author:  Wutz [ Tue 04 Sep 2007 06:19 AM ]
Post subject: 

Still a nice machine park... I find it's more than enough, if you are able to use it from time to time (I wish I had this possibility). I shy away of guitars that would require wood work, because I would not have the tools to get things done right.

I like the two pickup SB... it gives you the option for a harder edged sound with the pickup closer to the bridge.

Author:  Gribb59 [ Fri 14 Sep 2007 07:19 AM ]
Post subject: 

WOW. Really nice work. (the bass and the train !)

Agreed that the EMG's looked a little goofy.

More pics when it's back together ? :D

Cheers,
Scott

Author:  ZEEGLER [ Fri 14 Sep 2007 11:29 AM ]
Post subject: 

It looks fantastic so far. I'm a guitar player, but I have a bass rig as well, and one day, I'm going to have to get myself a nice ash 2 pickup SB. It's really the only bass that I drool over.

Author:  Bloodaxe [ Mon 17 Sep 2007 07:19 PM ]
Post subject: 

Thanks for the positive vibes, time for an update...

Here's what it all looks like with the new block planed & sanded flush...
Image

There's quite a difference in colour 'twixt the original Walnut & the new Mahogany that will require a tad of skulduggery when it comes to refinishing, but that's in the future.
I'm a bit annoyed that I didn't rout the ash out quite far enough to cover the edges of the original pickup rout, so I've got a couple of bits of filling to do.

The more observant amongst you will spot that the fretlines are a bit naff in places (especially lines 19 & 24). This is down to my using some quite green (i.e. unseasoned) Ash when I originally defretted it .
In retrospect using an open-grained timber was a bad idea as it tended to splinter off below the level of the fingerboard creating a dark gap.

Throwing caution to the winds, this weekend I sawed out the Ash lines with a couple of pullsaws (a 21tpi dowel saw & a 15tpi tenon saw) & confected some Mahogany veneer to fill the gaps...

Image
Image

The veneer in the uppermost shot is a shade over 0.7mm thick & needed a modicum of sanding to fit the slots.
The white hair-like debris in the lower pic is all that was left of the Ash inserts after the second bout of pullsawing.

The next three need little explanation...

Strips test-fitted dry:
Image

Glued:
Image

Allowed to dry overnight, planed & sanded flush:
Image

The next thing to do is get the spray cans out, but that'll be next time (& probably the time after that).

Pete.

Page 1 of 5 All times are UTC - 5 hours
Powered by phpBB® Forum Software © phpBB Group
https://www.phpbb.com/